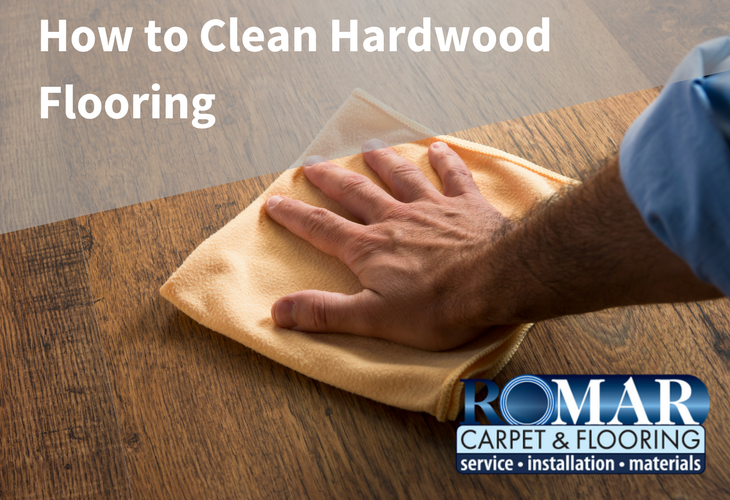
How to Clean Hardwood Flooring
There’s just something about gleaming, shining hardwood floors, don’t you think?
They bring such a cozy, earthy feel to a home, elevating the interiors of a living space to a whole new level.
Though a hefty investment, we’re of the opinion that hardwood flooring looks majestic regardless of what room of the house it’s in. It is also durable, easily lasting for decades.
Despite that, people think that hardwood flooring is either very low or very high maintenance – choosing to believe that there is no in-between. In reality though, hardwood flooring maintenance largely depends on the quality and type of the flooring, as well as the amount of footfall in your home.
Irrespective of that, we think that every homeowner who is concerned about protecting their investment should learn how to properly clean hardwood flooring. This is because hardwood floors do have the tendency of collecting dirt and grime, causing it to lose its shine over time.
Don’t worry though, we’re here to teach you exactly how you can transform and clean hardwood flooring in your home – all with minimal effort.
Figure Out Finishes
Before you dive right into the cleaning mode, it’s best that you take a minute to figure out the finish or seal of your hardwood floor. This is because hardwood floors are sealed using a number of different materials, all of which influence how and when the flooring should be cleaned.
There are three basic types of seals or hardwood finishes:
- Surface Seals
- Oil Finishes or Penetrating Seals
- Varnish, Lacquer, or Shellac Seals
- Untreated floors
The surface seals are lifesavers. Often containing polyacrylic or polyurethane, these seals are water and stain resistant, making cleaning these floors a breeze – a superficial dusting is pretty much all they need.
The oil finishes penetrate deep into the wood and harden over time, as these floors require a little more pampering than the surface sealed floors.
The lacquered, shellacked, varnished, and untreated floor all fall at the bottom of the ladder. Not only these finishes are moisture resistant, but are also prone to damage and wear and tear over time.
Pro-tip: Swipe your finger over the surface of a clean hardwood flooring. If it leaves a smudge, your flooring is either untreated, or has an oil, lacquer, shellac, or varnish seal used. No smudges usually indicate a tight surface seal.
Now that you know what hardwood flooring you have, let’s get cleaning.
What You’ll Need
Before you begin cleaning hardwood flooring, a few things that are essential to have on hand, include:
- Dry dust mop/broom
- Vacuum cleaner (preferably wih a floor-brush attachment)
- Mop and bucket of water (preferably with a recommended floor cleaning agent such as a Murphy Oil Soap that does not contain any oil)
- Dry terry cloth
Things to Avoid
Aside from the essentials you need to properly clean hardwood floorings, there are a few things you should definitely AVOID using, especially if you have hardwood flooring with surface seals using polyurethane or urethane. Here’s the list of products you should NOT be using:
- Any types of oils, furniture sprays, waxes – think sticky residues here
- Floor cleaners, which contain strong ammonia or other alkaline contents – you don’t want to have scratchy surfaces, do you?
- DIY cleaners using water and vinegar solutions – they lead to long-term wear and tear of hardwood floor.
For untreated or varnished hardwood floors, we prefer designated liquid or paste waxes. They provide good protection when applied in moderation. However, acrylic or water-based waxes are not recommended at all.
The Steps to Follow
Now that we’ve got the products sorted – depending on your hardwood flooring and its sealant finish, of course – let’s move onto the actual cleaning part. You cannot have sparkling clean hardwood flooring if you’re just cursory mopping the floor every few weeks or so. Hardwood floors have different cleaning requirements for daily, weekly, monthly, and yearly cleaning.
Daily Cleaning
Routine cleaning is a crucial part of maintaining the gleam and shine of your hardwood floorings for long-term. While it may seem a bit much, it really doesn’t involve anything strenuous.
- Take a soft, dry dust mop or broom and sweeping it across the floor to get rid of the surface dirt and dust.
- Use microfiber mops. They help attract the dust particles through static electricity.
- To get a better cleaning, just swipe the mop across the floor without constantly picking it up off the surface – this helps keep the debris trapped between the floor and the mop pad.
Weekly Cleaning
Weekly cleaning requires a little more effort than regular cleaning does, so prepare yourselves.
- You need to carefully rearrange your furniture to open up the space.
- Bring out your vacuum cleaner and a wet mop brush and bucket – this is where they come in use.
- Carefully run the vacuum over the entire flooring, especially the harder to reach places which may be missed during the daily cleaning cycle.
- Follow this by lightly spraying the surface with the surface cleaners of choice and then running a mop on top to completely clean the hardwood flooring.
Word of caution though, liquids and wood are generally not considered a good mix. Water is not recommended at all for untreated or varnished floors, and for surface sealed ones, it’s best that you stick to light sprays of professionally recommended surface cleaners.
Avoid using a vacuum with a beater bar on a hardwood floor to prevent needless scratches. Also, investing in furniture pads is a good idea – they help make furniture movement a breeze without damaging the hardwood flooring.
Monthly Cleaning
Despite regular and periodic deep cleaning of hardwood flooring, continuous use can damage the surface significantly. Specific hardwood polishes go a long way in restoring the floor’s actual appearances. Every few months, after you thoroughly clean hardwood floorings in your home, just follow it up with a good polish too. It’s a quick and easy process that you can accomplish yourself, should you feel up to it.
Yearly Cleaning
It doesn’t matter much how well you take care of them or how often you clean hardwood floorings in your home. Given the amount of abuse and traffic they have to bear, eventually, there will come a point where they will begin to look completely worn out. While you can delay this, you cannot exactly prevent it from happening. As such, it’s highly recommended that hardwood floorings be professionally re-sanded and re-finished every four to five years. The professional sanding and refinishing process eliminates even the worst of scratches and wear and tear, beautifully repairing your home and leaving you with spectacularly clean hardwood flooring.
So, what’re your thoughts? Too high maintenance or just about right for something that’s so worthwhile? Personally, we think that it’s not hard to clean hardwood flooring. In fact, if you settle down in a routine, it’s not bothersome at all. Either way, let us know what you think in the comments below. Let’s compare notes.
